短视频app
短视频app
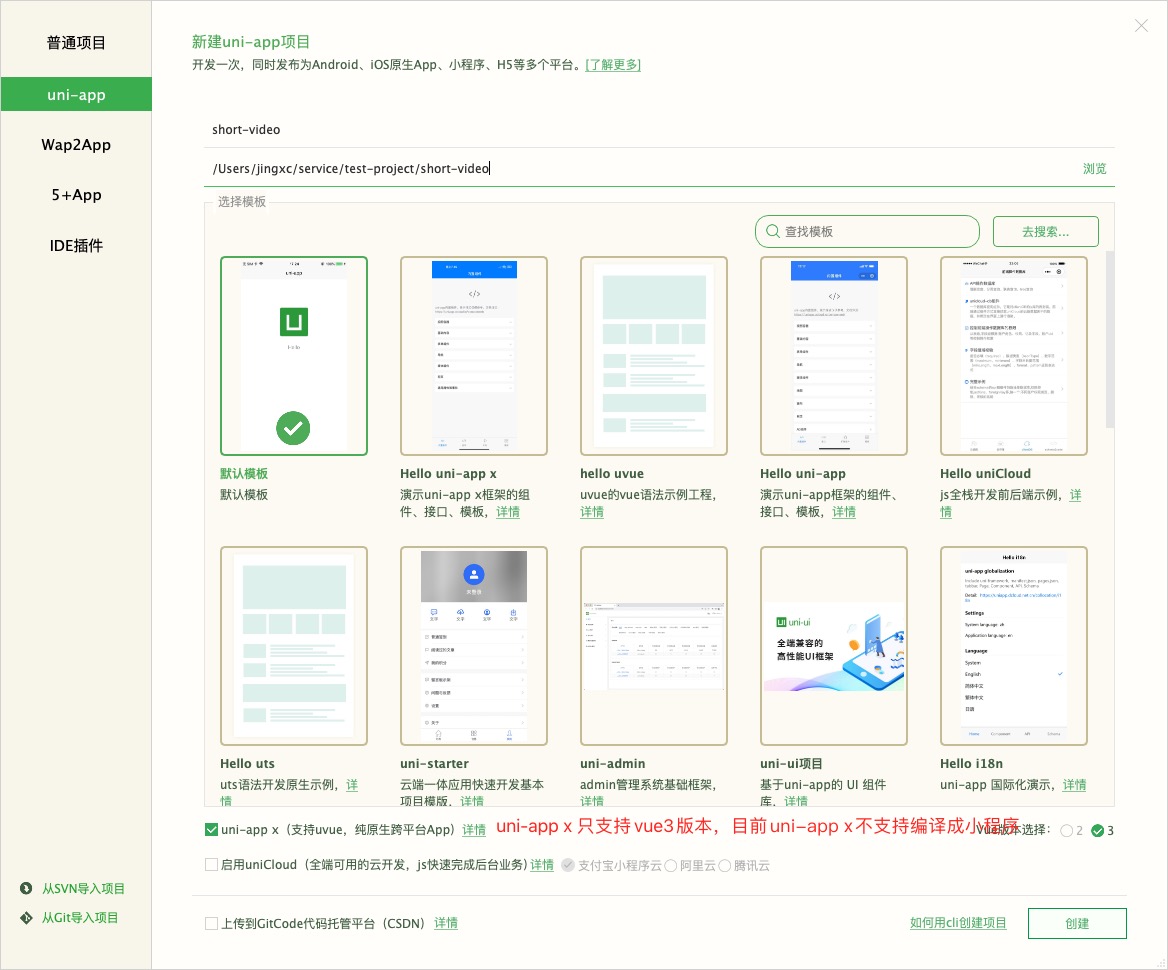
一. 创建项目
1.1 前言
项目使用的工具:
- MAC M1:苹果M1芯片笔记本
- HBuilderX:用于app开发
- IDEA:用于后端开发
- PhpWebStudy:用于数据库,Redis,静态资源文件等控制
项目使用语言极其版本:
- 后端:jdk1.8,mysql8,redis7.2.4
- 前端:vue3,uts,uni-app x
特别说明
uni-app x,是下一代 uni-app,是一个跨平台应用开发引擎。
uni-app x 是一个庞大的工程,它包括uts语言、uvue渲染引擎、uni的组件和API、以及扩展机制。
uts是一门类ts的、跨平台的、新语言。uts在iOS端编译为swift、在Android端编译为kotlin、在Web端编译为js。
在Android平台,uni-app x 的工程被编译为kotlin代码,本质上是换了vue写法的原生kotlin应用,在性能上与原生kotlin一致。
1.2 vue2与vue3区别
属性变量定义
vue2:属性变量定义
<template>
	<div class="hello">
		<div style="display: flex;justify-content: center;">
			<div class="base-css">
				简单属性
				<div>name:{{name}}</div>
				<div style="margin: 30px;"><button @click="updateName">更新</button></div>
			</div>
			<div class="object-css">
				对象属性
				<div>age:{{user.age}}</div>
				<div style="margin: 30px;"><button @click="updateAge">更新</button></div>
			</div>
		</div>
	</div>
</template>

<script>
	export default {
		data() {
			return {
				name: '我是vue2',
				user: {
					age: 12
				}
			}
		},
		methods: {
			updateName() {
				this.name = "更新后vue2";
			},
			updateAge() {
				this.user.age = 18;
			}
		}
	}
</script>

<style scoped>
	.object-css {
		margin-left: 30px;
		width: 300px;
		height: 200px;
		border: 1px solid red;
		border-radius: 20px;
	}
	.base-css{
		width: 300px;
		height: 200px;
		border: 1px solid blue;
		border-radius: 20px;
	}
</style>
vue3属性变量定义
<template>
	<div class="hello">
		<div style="display: flex;justify-content: center;">
			<div class="base-css">
				简单属性
				<div>name:{{name}}</div>
				<div style="margin: 30px;"><button @click="updateName">更新</button></div>
			</div>
			<div class="object-css">
				对象属性
				<div>age:{{user.age}}</div>
				<div style="margin: 30px;"><button @click="updateAge">更新</button></div>
			</div>
			<div class="object-css">
				<div v-for="item in list">{{item}}</div>
				<div style="margin: 30px;"><button @click="updateList">更新</button></div>
			</div>
		</div>
	</div>
</template>

<script setup>

	import {ref,reactive} from 'vue';
	const name = ref('我是vue3');
	const user = reactive({
		age:12
	});
	const list = reactive([1,2,3])


	const updateName = ()=>{
		name.value = "更新后vue3";
	};

	const updateAge = ()=>{
		user.age = 18
	};

	const updateList=()=>{
		//list = reactive([3,4,5]);
		list.splice(0,list.length ,...[3,4,5])
	}
</script>

<style scoped>
	.object-css {
		margin-left: 30px;
		width: 300px;
		height: 200px;
		border: 1px solid red;
		border-radius: 20px;
	}
	.base-css{
		width: 300px;
		height: 200px;
		border: 1px solid blue;
		border-radius: 20px;
	}
</style>
路由的创建以及使用
首先是引入依赖,VUE2和VUE3引入方式一致,只不过引用的版本不一致
- vue2中使用
npm install vue-router@3 - vue3中使用
npm install vue-router@4
然后是定义路由:定义路由可以直接定义在main.js中,也可以提出来公共的路由文件router.js(名字随意)
// vue2中的路由文件配置
import Vue from 'vue'//vue依赖
import VueRouter from 'vue-router'//路由依赖
import Login from '@/views/Login/Login.vue'//页面文件
import Home from '@/views/Home/Home.vue'//页面文件

Vue.use(VueRouter)//使用路由

const routes = [{
		path: "/",
		redirect: "/login"
	},
	{
		path: "/login",
		component: Login
	},
	{
		path: "/home",
		component: Home
	},
]

const router = new VueRouter({
	mode: 'history',//确定地址访问形式
	routes
})

export default router
// vue3中的路由文件配置
import { createRouter, createWebHistory } from 'vue-router';//路由依赖
import Login from '../views/Login/Login.vue'//页面文件,不能使用@引用
import Home from '../views/Home/Home.vue'

const routes = [{
		path: "/",
		redirect: "/login"
	},
	{
		path: "/login",
		component: Login
	},
	{
		path: "/home",
		component: Home
	},
]

// 创建router实例
const router = createRouter({
  history: createWebHistory(),
  routes,
});

export default router
接下来是在main.js中管理配置路由文件
- 在vue2中,将
router文件引入到new Vue({})中即可 - 在vue3中,
createApp(App).use(router)即可
最后是如何使用
- 在vue2中直接使用vue实例this来使用
this.$router.push('/home')即可 - 在vue3中首先得引入依赖
import { useRoute,useRouter } from 'vue-router';然后使用router.push('/home')即可
全局属性变量
在vue2中,定义全局属性变量是通过函数的原型对象prototype来实现的 使用
Vue.prototype即可定义全局属性变量,通过实例对象this来获取在vue3中是是通过全局配置选项
globalProperties来实现全局变量的定义的 使用的时候先获取当前运行的实例对象getCurrentInstance(),在通过代理对象获取全局属性
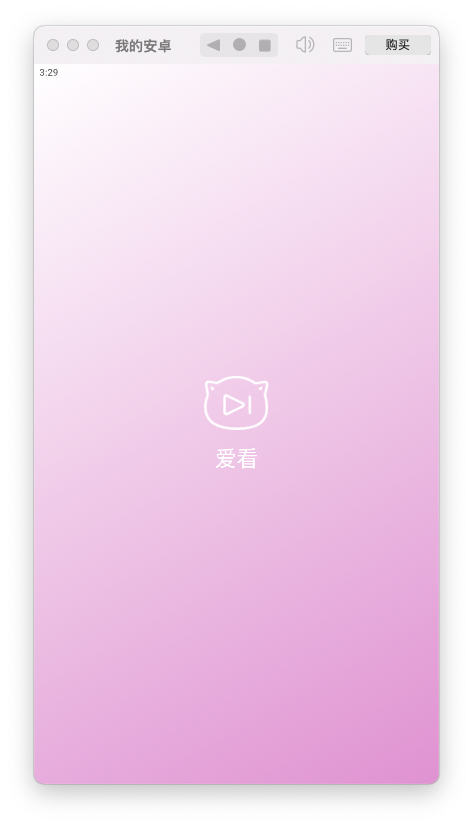
1.3 启动页面
这里我选取了一个温馨的颜色#E091D3,在h5或者是小程序创建时,可以直接使用css的 background-image来进行背景图片的控制的,但是uvue不支持这种方式
App平台
App平台暂不支持背景图,仅支持linear-gradient设置背景渐变色。 linear-gradient仅支持三个参数,格式如下:
linear-gradient(<direction>, <color-start>, <color-stop>)
所以启动页面背景最后控制css就是这样子了
.content {
	display: flex;
	align-items: center;
	justify-content: center;
	background-image: linear-gradient(to bottom right,#fff,#E091D3);
	height: 100%;
}
特别说明
之前在h5中view内部的文字样式可以直接通过css来控制,现在css控制不了view内部样式,
例:font-size只能适用组件
- text
- button
- input
- textarea
所以我们最后的初始页面就长成这样了:
使用uni-app x的时候还有许多需要注意的地方,有一些特定的css样式只能用在特定的标签上,不能混着用,目前我就遇到
- width:100vw 是错误的
- text-align: center; 添加在view标签上是错误的
- image标签暂时不支持svg的图片格式
- uni.request不能转成同步的
- progress组件添加percent属性如果是常量后会闪退,必须设置成变量才可以